Rembrandt Lighting
Rembrandt lighting (also called 45-degree
lighting) is a lighting technique
that is used in studio portrait photography. It can be
achieved using one light and a reflector, or two lights,
and is popular because it is capable of producing images which appear both
natural and compelling with a minimum of equipment. Rembrandt lighting is
characterised by an illuminated triangle under the eye of the subject on the
less illuminated side of the face. It is named for the Dutch painter Rembrandt who used this
type of lighting. The key in Rembrandt lighting is creating
the triangle or diamond shape of light underneath the eye. One side of the face
is lit well from the main light source while the other side of the face uses
the interaction of shadows and light, also known as chiaroscuro (an Italian word that’s literal translation is light-dark) to create this geometric form on the face. The
triangle should be no longer than the nose and no wider than the eye. This
technique may be achieved subtly or very dramatically by altering the distance
between subject and lights and relative strengths of main and fill lights.


Rembrandt
lighting can be created using natural light source too, Positioning your model
in a direction towards to window light/ sun light will create the illuminated triangle
on the cheek.
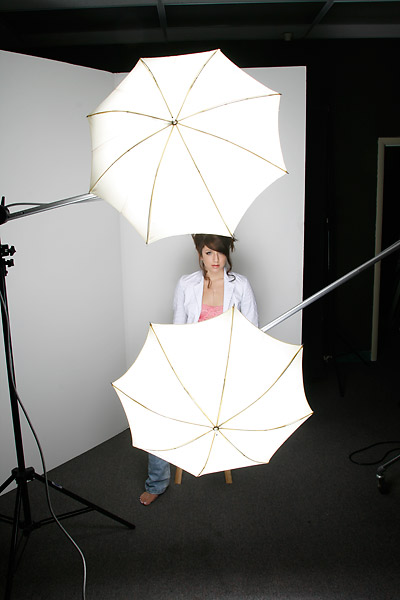
Examples of lighting set ups:
 theboudoirplace.wordpress.com
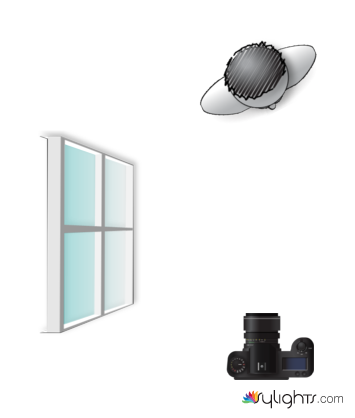 digital-photography-school.com
 samanthawild15.blogspot.com
Rim Lighting
A rim light is positioned behind the subject and facing toward the camera. It illuminates the edges of the subject to give a glow and to separate them from the background. With the glow around the head you get a halo effect. The rim light is slightly higher than the other lights but you must make sure that the subject is blocking the light from the view of the camera all you need is glow around the back.
Examples of lighting set ups:
Using one light: www.sylights.com
Using 2 lights: photography.tutsplus.com

Using 3 lights:

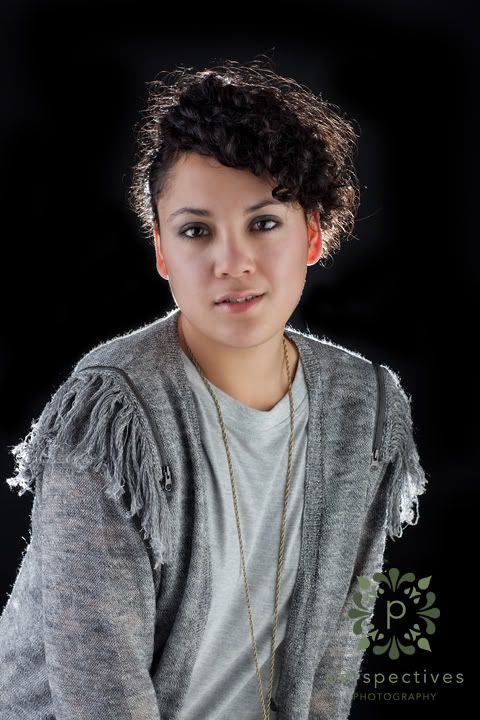
Images of rim lighting technique:
Using rim lighting makes the subjects stand out and looks really effective. I personally like rim lighting for the effect it gives, I can try using this style of lighting in my own portraits.


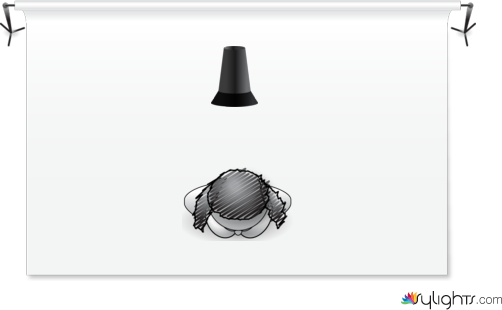
Clamshell Lighting
Clamshell lighting is used in fashion and beauty photography mostly as this type of lighting
creates a flattering and glowing effect. The photographer would use 2 lights source from the
front to illuminate the model/subject. This will minimize shadows and give that radiant glow
effect. You can see this lighting style used by beauty and fashion campaigns,
a way of identifying the technique is you can see the the 2 catch lights in the models eyes
this identify's clamshell lighting. You can also achieve this lighting by using one light and a
reflector to get the same effect.
Examples of lighting set ups
www.lighting-essentials.com
http://www.edverosky.net/blog/clamshell-lighting/

http://digital-photography-school.com/the-killer-clamshell-a-two-light-setup-guide/

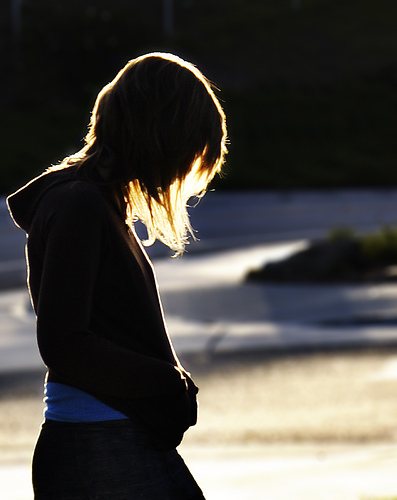
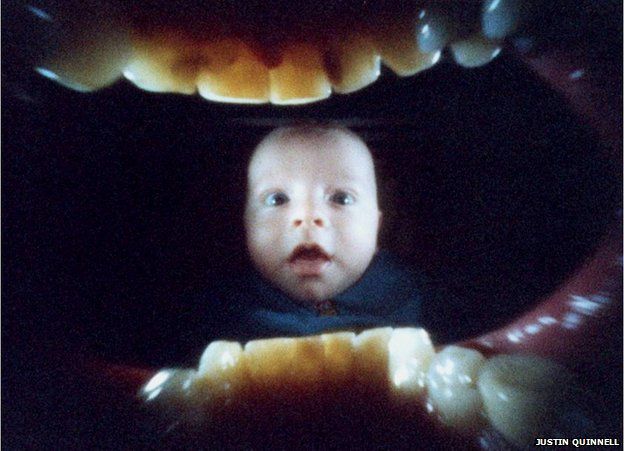
Back lighting
In lighting design, back lighting is the process of illuminating the subject from the back. In other words, the lighting instrument and the viewer face each other, with the subject in between. This creates a glowing effect on the edges of the subject, while other areas are darker. The backlight can be a natural or artificial source of light. When artificial, the back light is usually placed directly behind the subject in a 4 point lighting set up. A back light, which lights foreground elements from the rear, is not to be confused with a background light, which lights background elements (such as scenery).
In the context of lighting design, The back light is sometimes called hair or shoulder light, because when lighting an actor or an actress, backlighting makes the edges the subject's hair glow if the hair is fuzzy. This can create an angelic halo type effect around the head. Filmmakers sometimes use this to show that the actor is good or pure. Television productions often use this effect in soap operas, where it has become something of a cliché of the genre. It is also sometimes called the kicker or rim light.
Backlighting helps separate subject and background. Live theatre lighting designs often use backlighting to give a more three-dimensional appearance to actors or set elements, when front lighting alone would give a flat, two-dimensional look. In chiaroscuro effects in painting, such as the candlelit paintings by Joseph Wright of Derby (illustration, left), backlighting helps separate subjects in the foreground and emphasizes depth.
In photography, a back light (often the sun) that is about sixteen times more intense than the key light produces a silhouette. A fill flash used with a backlit subject yields more even lighting.
The vertical angle of the back light can change the effect. A low angle can make the light hit the camera lens, causing lens flare. A high angle can make the subject's nose extend out from the mostly vertical shadow of the head, producing a potentially unwanted highlight in the middle of the face.

http://www.studiolighting.net/back-lighting-studio-lighting-setup/