Friday, 12 February 2016

Process I chose to create..And how it was made

CYANOTYPE....

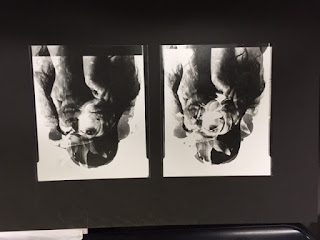
The process I chose to do for my final prints was cyanotype. For this we just needed 2 chemicals and the rest was household stuff you could pick up out the kitchen. I chose to do this one as it was a much cheaper option than going down the other alternative processes. Another reason was the colour of the final blue are an amazing tonal ranges of blue with add to any image. For this we will be using the 5x4 negatives to create my images.

The Process:

What we need:
  • 25 grams of Ferric ammonium citrate (green)
  • 10 grams of Potassium ferricyanide
  • Water (distilled if possible)
  • Scale or measuring spoons
  • Measuring jug
  • 3 glass containers for mixing ingredients
  • Plastic spoons
  • Face mask (DIY style)
  • Goggles
  • Rubber gloves
  • Apron or old shirt
  • Newspaper to cover work surface
  • Cleaning cloth
  • Brushes or coating rod
  • Clothes pegs (plastic)
  • Washing line or rope (plastic)
  • Art paper or fabric for coating
  • Sunshine or a UV light source
This recipe makes approximately 50 8×10 inch prints. 

The soultion:
  • Solution A: 25 grams Ferric ammonium citrate (green) and 100 ml. water.
  • Solution B: 10 grams Potassium ferricyanide and 100 ml. wate

Dissolve the chemicals in water to make two separate solutions. Add Ammonium ferric citrate to water into one container and Potassium ferricyanide to water in another. Stir with a plastic spoon until the chemicals dissolve. Mix equal quantities of each solution together in a third container. Unused solutions can be stored separately in brown bottles away from light, but will not last very long once they have been mixed. Dispose of any unused chemicals in a sensible and environmentally friendly way!

Your floors, carpets, walls, work surfaces, clothes and skin can be stained by the chemicals. Cover all possible areas, use rubber gloves and an apron or an old shirt to work in. If you have the space, choose an area where you can spread out. Ordinary light bulbs or tungsten light is safe to use, but UV light will affect your prints. Some fluorescent lighting may also affect your prints.
  

Preparing the canvasUsing a brush, simply paint the chemicals onto the material. Paper, card, textiles or any natural material can be used to print on. Decide how big your print is going to be, and cut your material to size. Make sure your working area is dimly lit, or lit with a low-level tungsten bulb. Once the material is coated, leave it to dry in the dark.

Print a cyanotype by placing your negative (to reproduce a photograph) or object (to make a photogram) in contact with your coated paper or fabric. Sandwich it with a piece of glass. Expose the sandwich to UV light. Natural sunlight is the traditional light source, but UV lamps can also be used. A photogram can also be made by placing items on the surface. Plants, decorative items or other objects can be used to create silhouettes or interesting shapes. Exposure times can vary from a few minutes to several hours, depending on how strong your lightsource is or the season where you are printing.

Processing and drying
When the print has been exposed, process your print by rinsing it in cold water. The wash also removes any unexposed chemicals. Wash for at least 5 minutes, until all chemicals are removed and the water runs clear. Oxidation is also hastened this way – bringing out the blue color. The final print can now be hung to dry and be admired.


I have also tried double exposures and developing negatives, and salt prints. As a group we each chose a different process to do so we ended up helping each mix up solution coating paper and exposing the negatives. We all ended up with a range of different processes and images which was really interesting to get to do. 


My Final Images I Chose.

For my final images I didn't stick to the Cyanotype I chose to incorporate some double exposures into the mix. I enjoyed the process of making these and the trial and errors that come with it. At first when I tried the cyanotype it didn't take to the paper properly I tried to expose it in front of the window for 5 mins. It wasn't exactly bright sunlight it was quite cloudy with outbreaks of sunlight once I tried to wash the image under water to get rid of the chemicals it washed the image off too. So I had to use the UV lamp to expose the images properly.


My images with the brush strokes and leaking solution are my best as they show character to the image and texture


Thursday, 17 December 2015

Flower Studio Images - WB 6

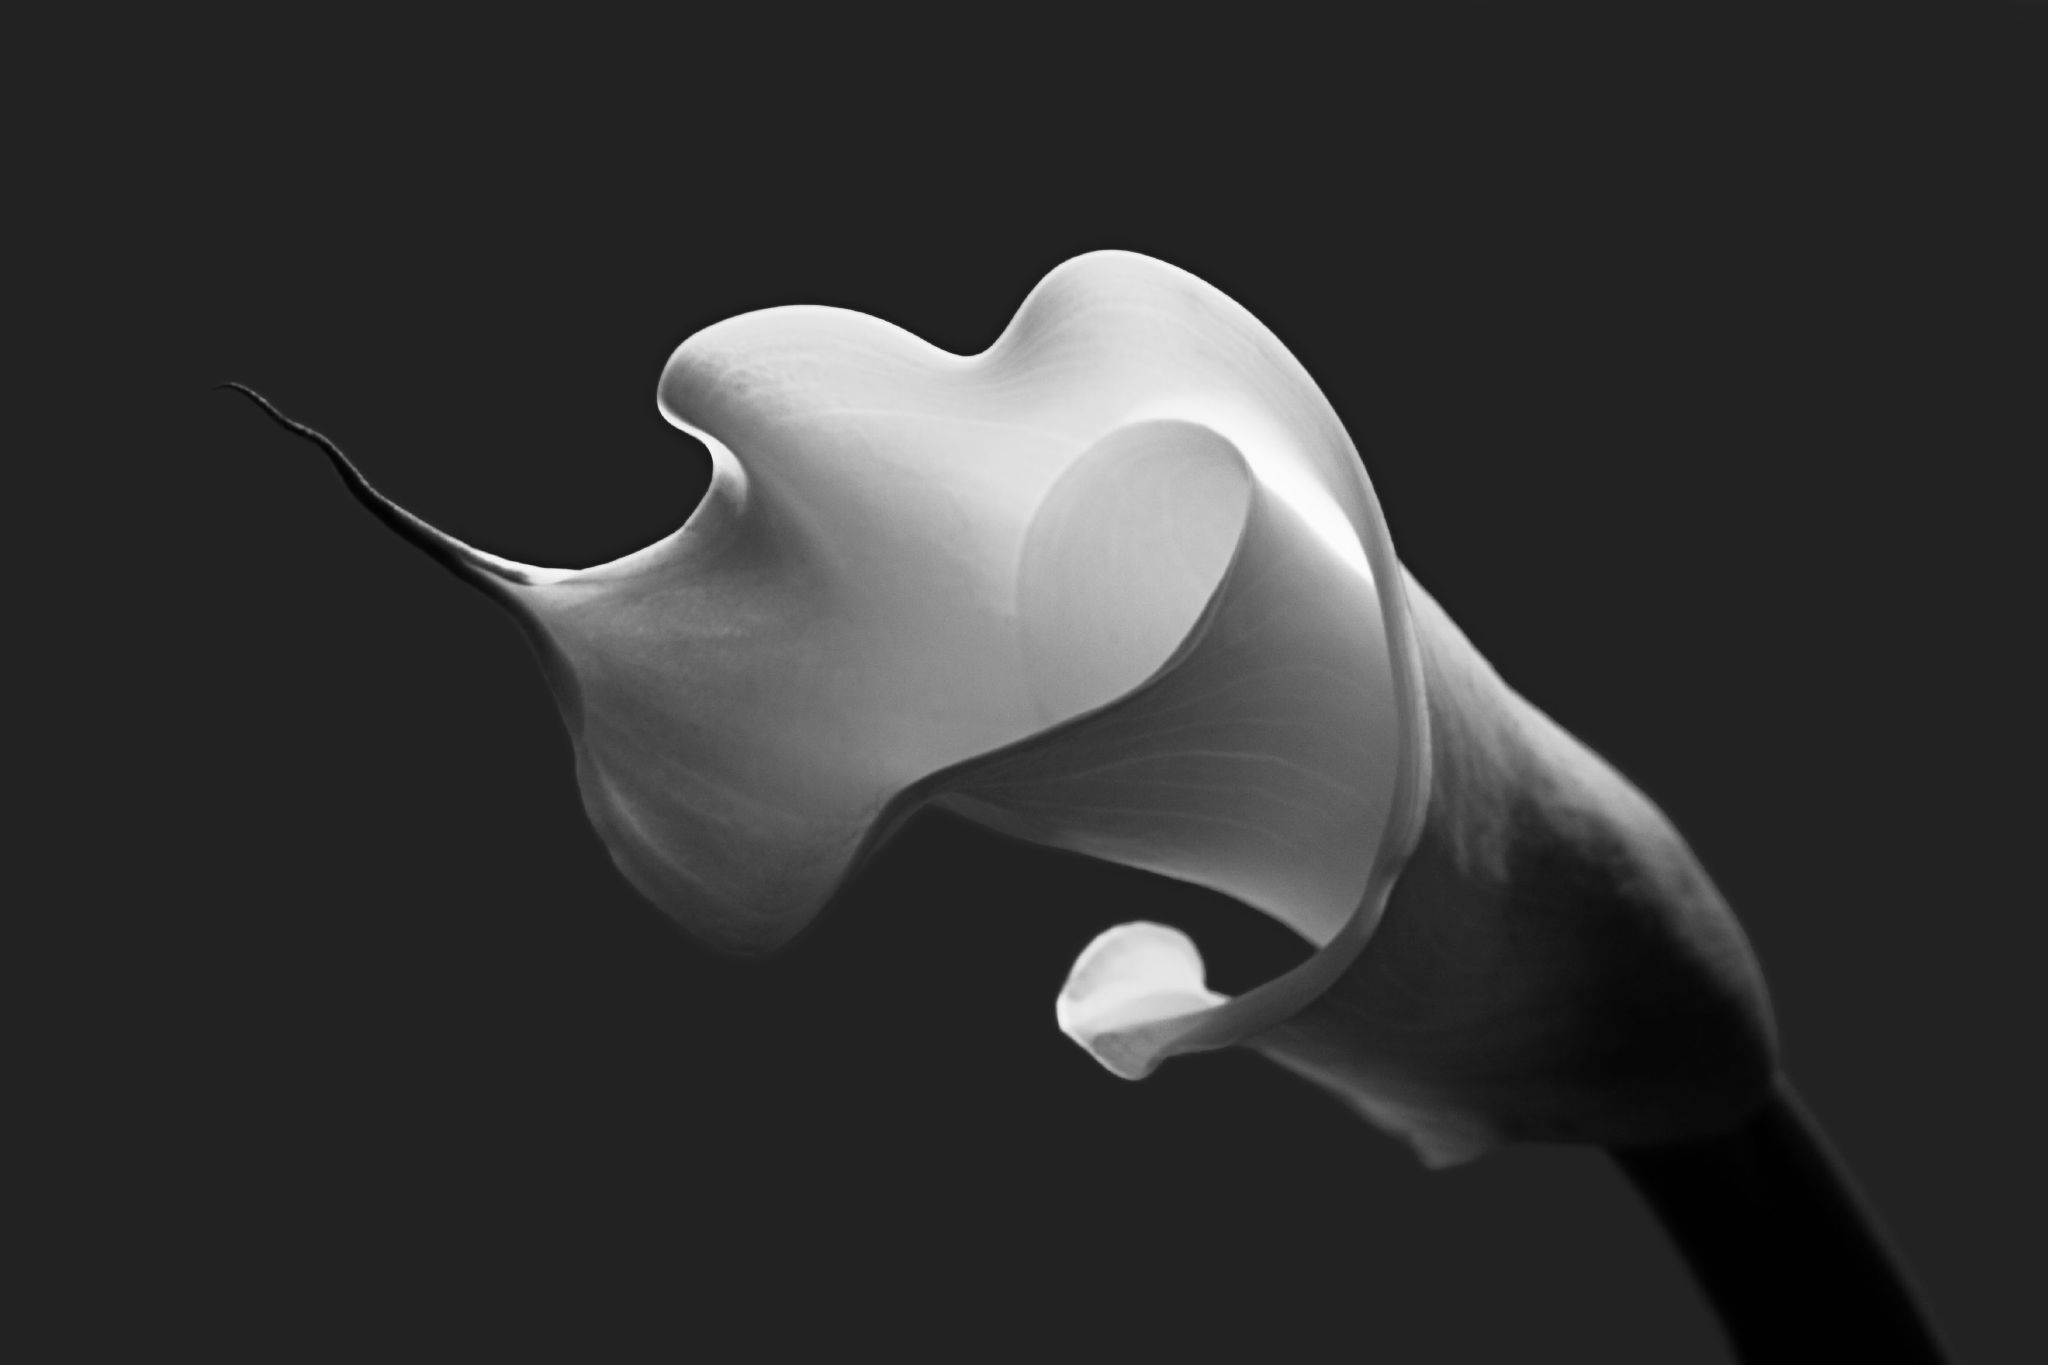
Photographing flowers in the studio using the 5x4 camera.

What makes a good photograph - The lighting, being selective with the lighting to show what you want to emphasis in the image. 


http://photo.net/large-format-photography-forum/00Ft2u  17.12.15

Looking at examples before we went in the studio of flowers taken in the studio, the way in which they have lit them brings the flowers out of the image, there's more emphasis on parts of the flowers. Things to think about when taking our own in the studio are:
  •  where the lights coming from - above, side, behind etc
  • snoots
  • water droplets on the petals
  • focus points
  • Lit from behind

Flowers we chose to photograph are Lillies as these have a more interesting feel to the images, we set up the flowers on a box with them clamped on to a stand. We had black boards either side of the stand where the flowers were. The key light is the light with the snoot positioned to the side of the flower and with another 2 lights positioned at the white back drop to bounce light back. We experimented with the lights turning some off, re-positioning the key light to different positions to create different tonal ranges across the pictures this creates moods on the images. Before we set up the 5 x 4 camera we did some practice shoots with the canon 600d so we could get an preview of what the lighting set ups would look like. Using the light meter we determined what our camera settings would be. ISO - 100, F32 (but canon only goes to F29) 1/60 sec. Below are the contact sheets from the dslr some of the images have a great atmosphere and mood with some of the outcome using these set ups im hoping the negatives come out even better. We introduced water droplets into the images when using the 5 x 4 and took two images at a time before changing the position of the lights.


Setting up the 5x4 camera:
  • Open up the lens to the largest aperture
  • Focus on the area of your choice
  • Once happy with the focus close the lens down and readjust your aperture. (For this particular exercise F/22)
  • Attach the sync lead from the flash light to the camera.
  • Cock it back and load the negative at the back of the camera
  • Lift the slide turn it round and rest it in the top of the negative holder
  • Take the image.
Using one light to begin with looked boring, too bright, and the eyes didn't want to travel around the image any more than just a glance. So we decided to use a hand in front of the camera to direct some of the light around the image. Controlling the light adds a mood to images and you're more intrigued to look at all the image in sections. We introduced a back ground light starting the light at 1 going up to 2, then 6 going up to 6 was too bright so turned it down to 1. 


(Images took on canon 600d by Emma Quinn. As a group we set up and changed lighting set ups and arragned the flowers, before we took our own on the 5x4 camera.)


Darkfield & Lightfield - WB 6


Glass is hard to shoot for several reasons
  • It has mirror qualities and it reflects almost anything in front of it creating distractions
  • It is transparent and light just goes through it making it hard to define its shape
  • It is very smooth and punishes up for every speck of dust
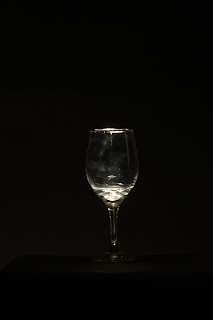
In dark field lighting, you use a dark background. If all you used was a dark background the glass object would have no shape. The way to overcome this is by highlighting the glass edges.
The edges are lit by light, with the light positioned behind the object and black card. either side of the glass you have 2 pieces of black card into a V shape. The light will travel from the back of the card through the sides of the v shape to illuminate the edges of the glass.
Hint of Red SetupHint of Red  365/269
http://www.diyphotography.net/crossing-over-to-the-dark-field-has-never-been-easier/ 17.12.15
I done this technique in the studio the glasses we used were quite dirty I tried washing these in the toilet to the best i could but you could still see a lot of dust, prints and smears all over. I tried using the wine glass and a perfume bottle. The perfume bottle didn't look as effective as the wine glass as in I don't think I could illuminate to the best of what I could. As I couldn't get rid of the smears and no other glass objects to hand I tried using coloured gels on the lights. These are interesting and effective than just the white light shone from behind. 


Light field/ Bright field

Cheers  365/273

In bright field lighting we do the exact opposite from what we did in dark field.
The background is lit and the body of the glass pears to be white. The edges are defined by dark cards that create “negative light”.
Again, the background light is limited to the smallest area possible to reduce flare.
The image above was taken using the setup below. Two CFL snoots were used to create a contained white background, and black cards were used to define the edges of the glass.


Adding the same set up as above we created some interesting lighting set ups for photographing the lillies. You can apply this style of lighting not just to glass but to other objects as you can see from the images above it gives you great tonal ranges that gives the images added depth.